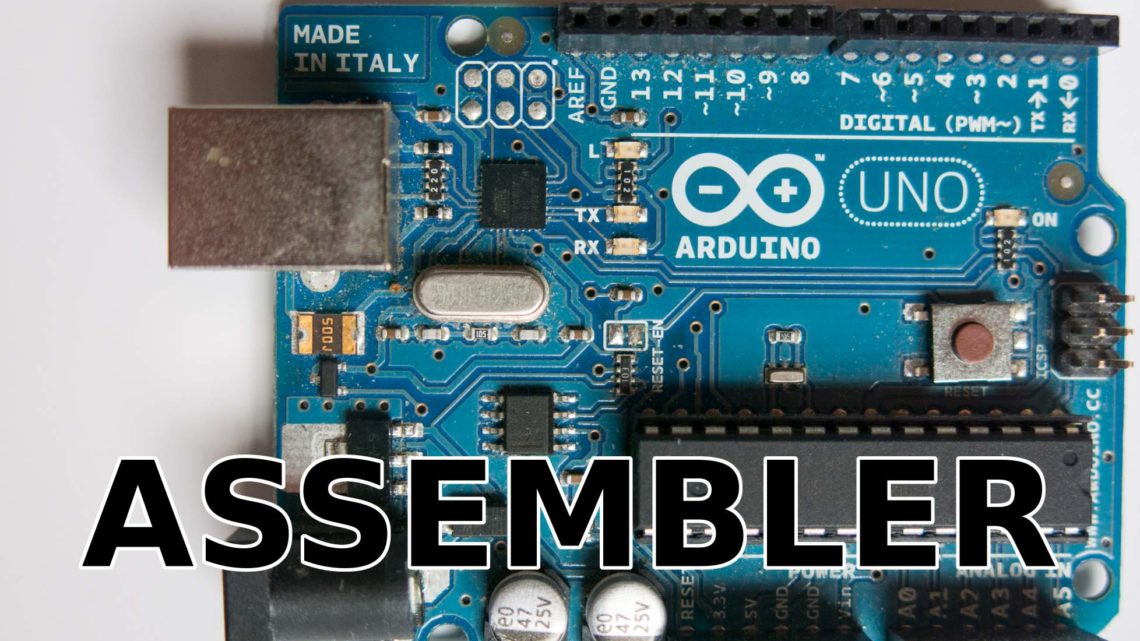
Arduino Assembler Tutorial : Introduction
Friday June 12th, 2015What’s the deal with Assembler?
In short, the difference between Assembler and another high-level language is similar to driving a car yourself (Assembler) versus calling a taxi (high-level language).
When you want to drive a car, you need to know how to operate everything and be familiar with traffic rules. Getting from one point to another involves many complex maneuvers. You have to parallel park, navigate through traffic, obey traffic lights, signs, and regulations, and park again, among other things. These maneuvers themselves involve various smaller tasks like shifting gears, braking, accelerating, and observing traffic.
Calling a taxi is much easier because the driver takes care of everything. You just need to tell them where you want to go, maybe provide your preferred route. The entire driving is taken care of for you. Both methods can get you to your destination.
Assembler and C++ behave similarly. With Assembler, you control the machine (the microcontroller, in this case, the Arduino) yourself. However, you have to manipulate all the levers (bits) yourself and keep a close eye on where you store your data. In a high-level language like C++, you only need to explain what you want to do, and the toolchain takes care of all the details during compilation. Programming in a high-level language hides all the controller’s details, which is precisely what it should do. Many algorithms can be described more easily this way.
When to use Assembler
So far, it may seem like programming in Assembler is cumbersome and time-consuming, and it is to some extent. Paying attention to all the intricacies and details of a microcontroller while programming requires a lot of effort and time. It’s essential to remember that the most crucial resource in programming is not flash memory, RAM, or the number of pins but development time.
It’s also true that Assembler code isn’t easily reusable or adaptable. If you change controller families, reusing code becomes extremely difficult, and significant portions of the code may need to be rewritten. Implementing larger projects in Assembler is also very time-consuming.
However, Assembler has some advantages that can be significant:
- You learn a lot about MCU architecture, which can be helpful in future projects.
- It provides unparalleled control over the hardware.
- When optimized correctly, Assembler can be incredibly fast.
- Assembler code consumes very little memory compared to other languages.
In my opinion, the best approach is to write an entire project in C++ code and then optimize only essential parts in Assembler. Time- or memory-intensive functions are the best candidates for this. C++ gives you the flexibility to get things done quickly. In practice, a significant portion of a project is non-critical and doesn’t benefit from optimization.
Practical Example: Let’s say you want to output some data over the serial interface for debugging purposes. Implementing this in C++ on an Arduino using standard libraries requires almost no effort at all. Writing the code in Assembler, on the other hand, will take more time, even if you reuse old code. But here’s the thing: From a practical standpoint, implementing it in Assembler doesn’t give you any advantage!
It consumes more time and energy.
On the other hand, if your project involves algorithms that need to execute quickly, there’s the possibility of optimizing them in Assembler.
Moving on to the practical example: Implementing a Blink Arduino Sketch using Assembler.
